The ultimate app to transfer music from iPhone to mac computer, and iOS file manager and explorer.
How to Transfer iPhone Music to Mac Computer Music Library
Imagine when you change to a new computer and want to recreate the iTunes library without losing the meta-information of your favorite songs and tracks. Fortunately, you have all the music on your iPhone. iCopyAssistant can easily copy the iPhone music and rebuild the iTunes library with the transferred songs.
The following simple steps introduce how to finish copying music from iPhone to computer.
Download and Run iCopyAssistant
Download the iCopyAssistant installer package and extract the DMG file, mount DMG file in file system and finish installation.
Open and Run "iCopyAssistant.app"
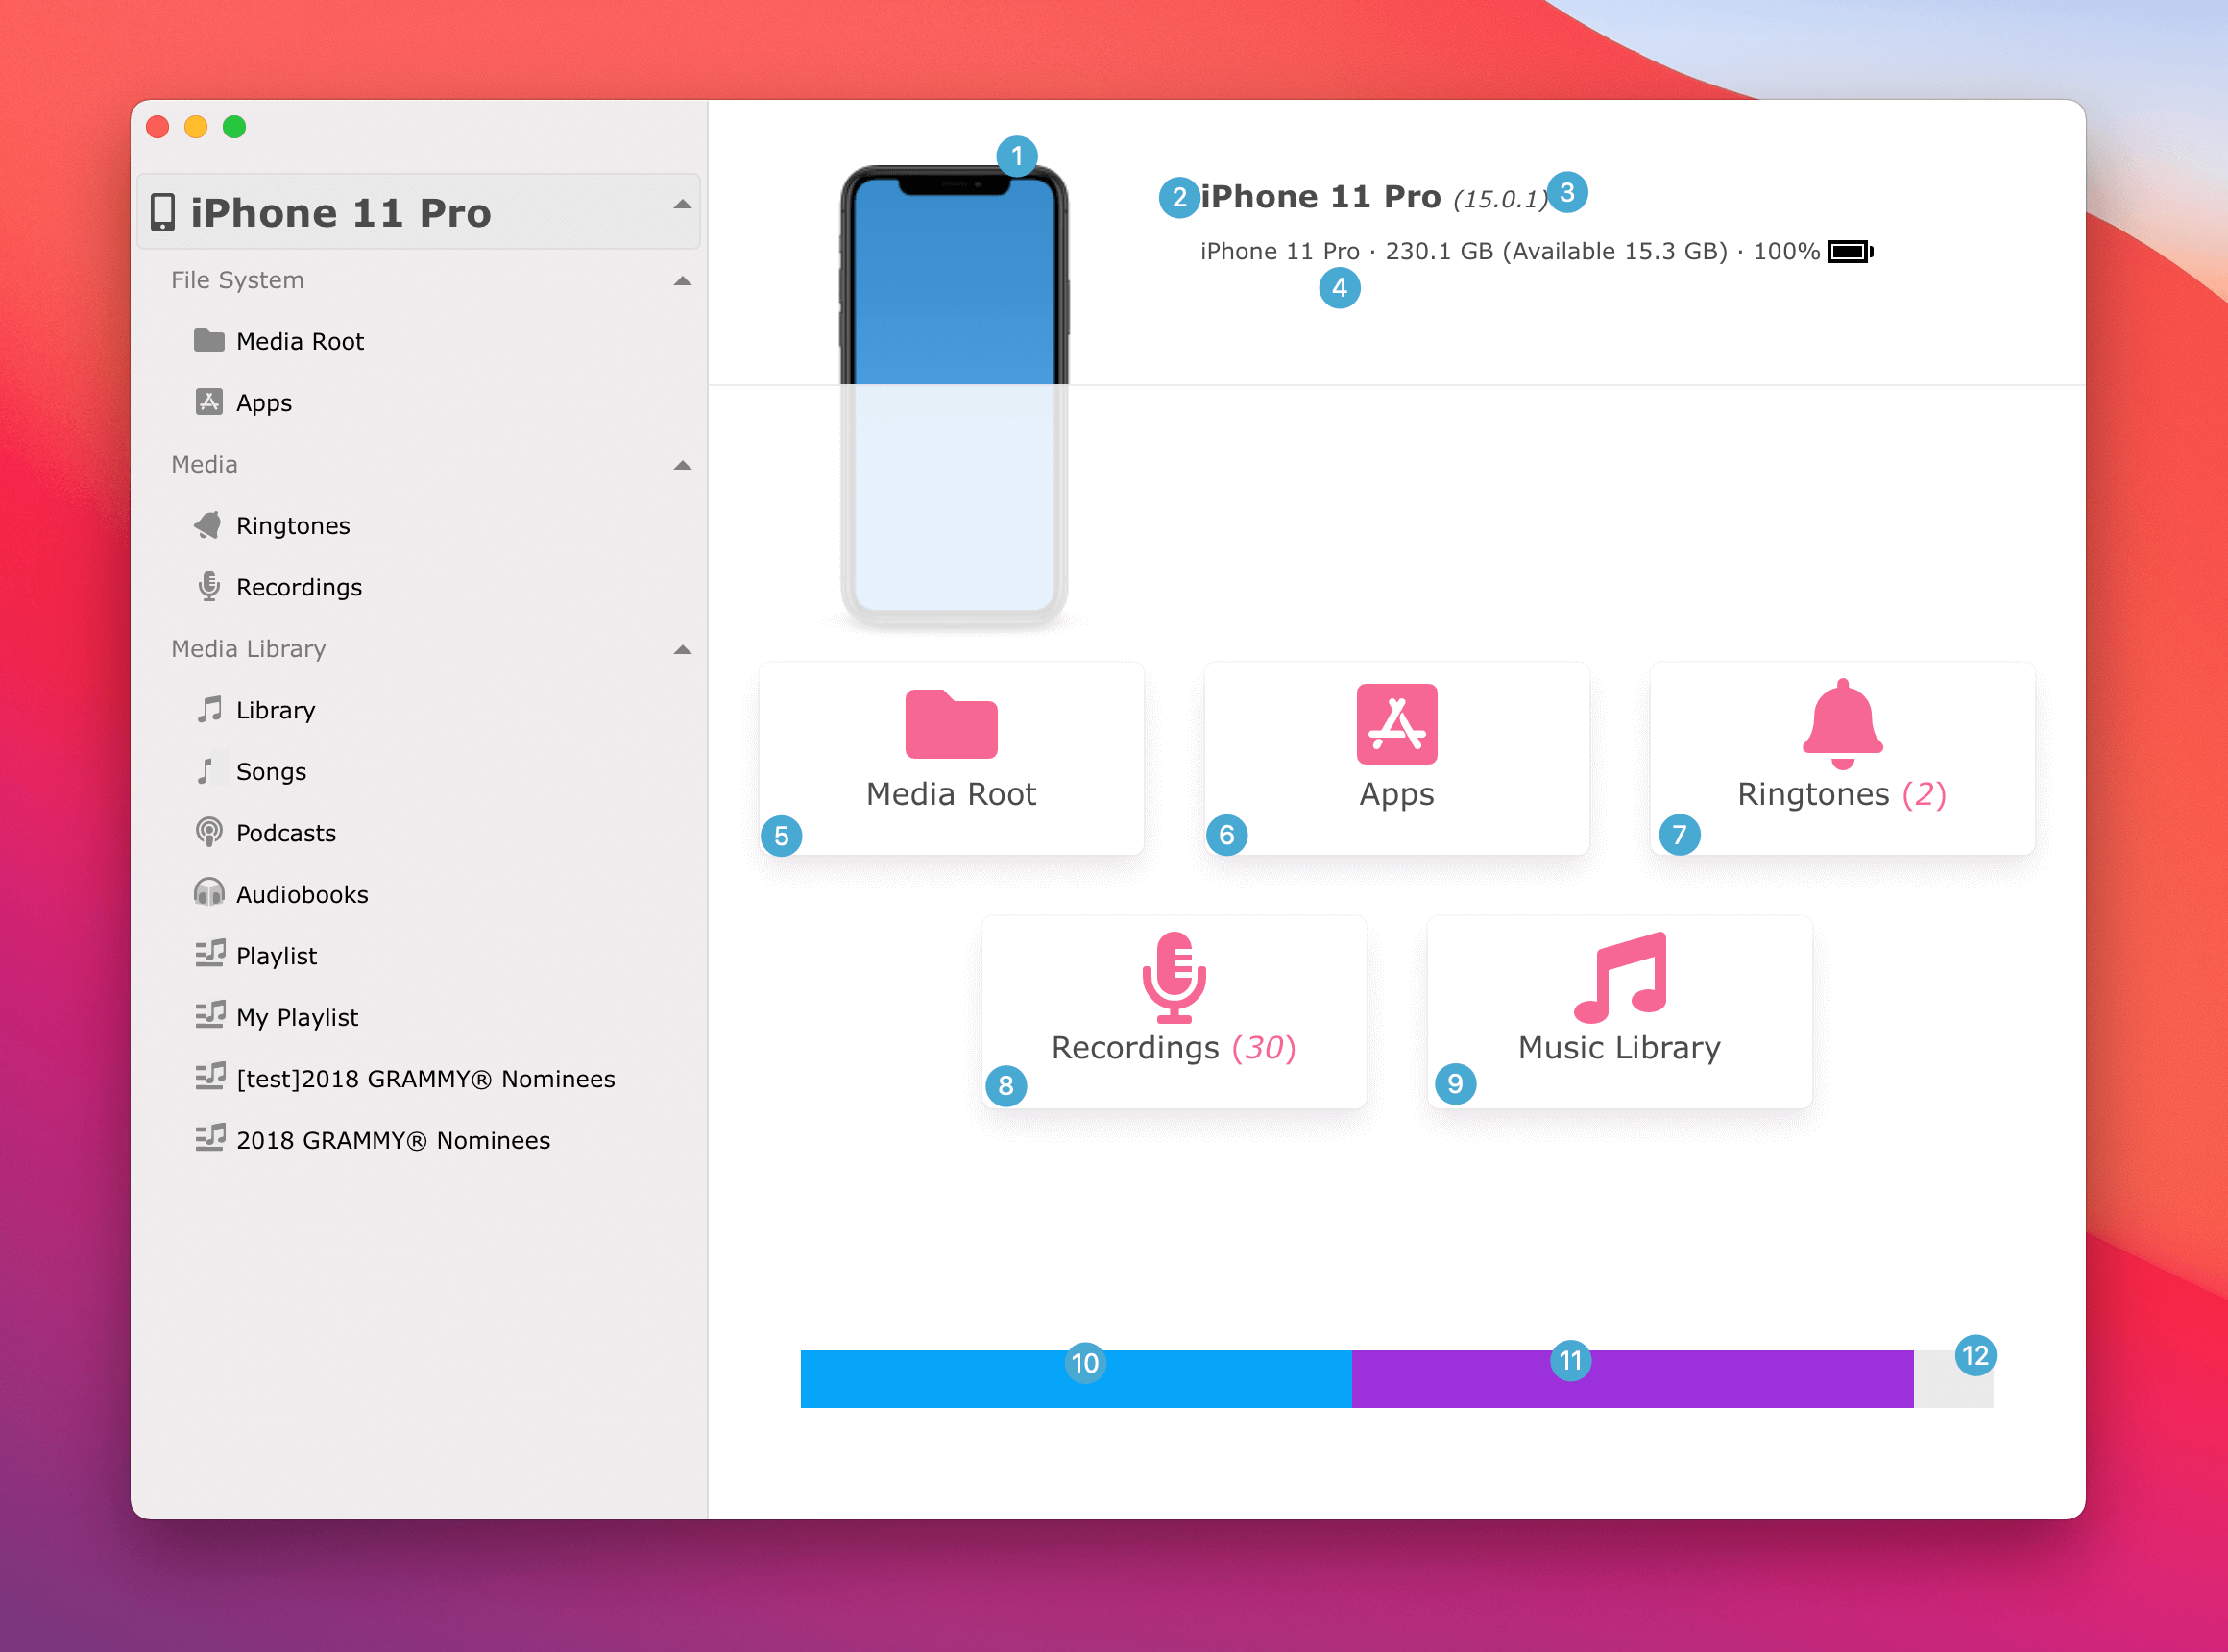
Summary Information about iPhone When you have your iPhone connected to mac computer, and run iCopyAssistant.app, iCopyAssistant will detect and load iPhone library.
The left side panel lists out the playlists of iPhone music library. And right side panel shows the summary information about iPhone device. Detailed information can be found in iCopyAssistant tutorial

Copy iPhone music to Mac and music library
First let us get familiar with the music interface


If you just want to copy music from iPhone to a folder on your computer, but don’t want to add the copied songs to the music library, you can choose "Copy to Folder" 5, select a location to save the music files and complete the transfer.
However, if you want to add the copied songs to the local music library at the same time, please select "Send to iTunes". iCopyAssistant will copy the song files to the folder set in the settings, and then add the songs to the local music library (the copied files may be deleted, depending on whether the option "Copy files to Music folder when adding to library" in preferences of Music.app is enabled). If you want to add the copied songs to the specified playlist, please check the option "Add songs to playlist" in the "iTunes" section of preferences, and select or enter a new playlist name.